Document photos are scanned (removes gray backgound) in four steps Uploading photo, cropping photo, further adjustments and download

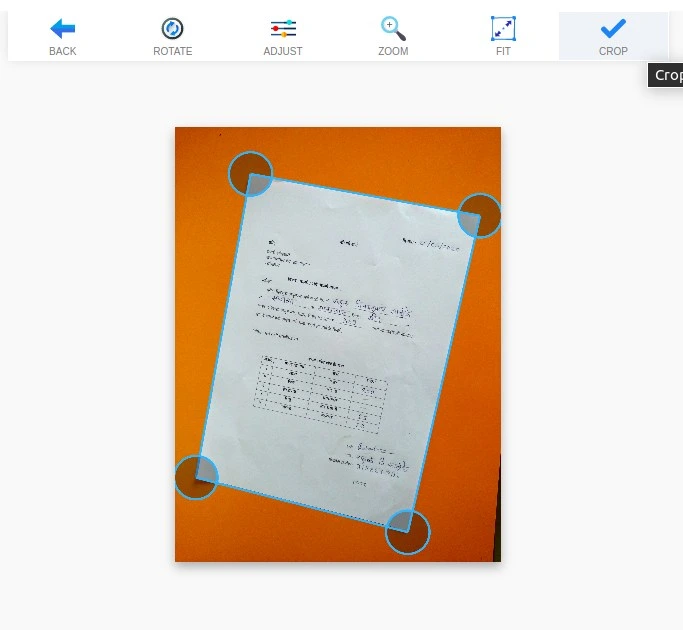
After uploading document photo, OnlineCamScanner automatically detects the document corners in photo.
Adjust the corners which are not properly detected by moving circle presents on image.

To rotate document photo click on rotate button.

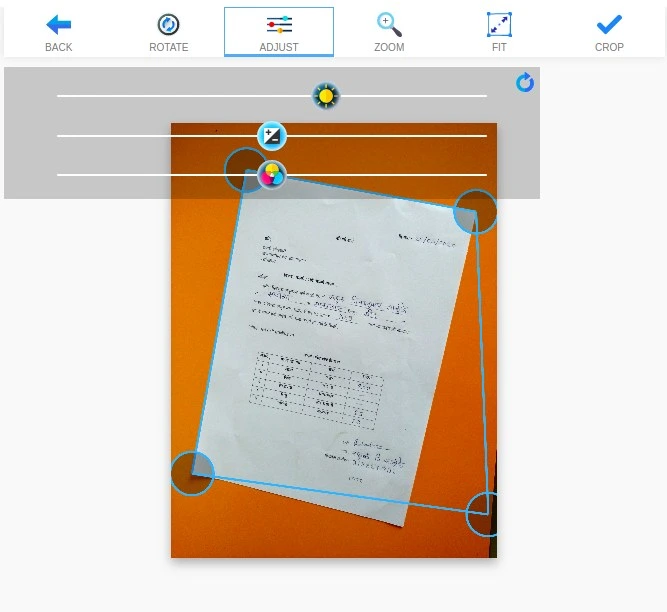
To Adjust brightness contrast for further improvement click on adjust. Adjustments can be done lazyer also, but making minor improvemenst improves scanning results.

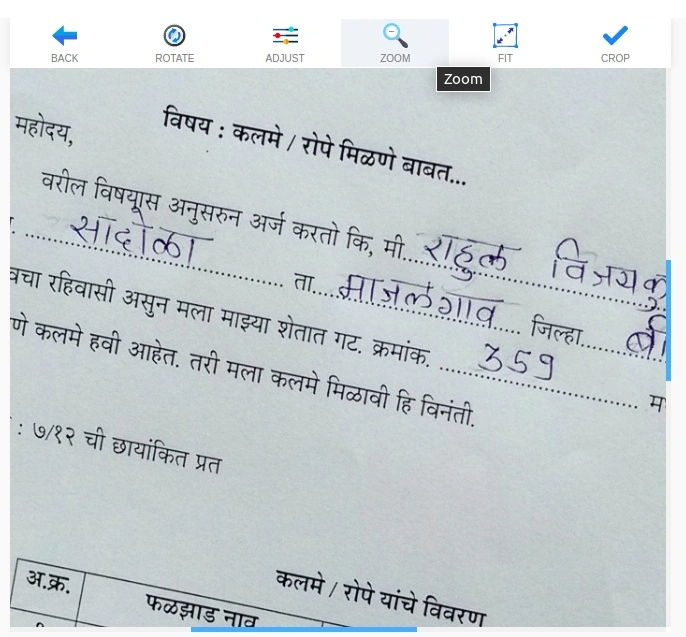
To see document clearly click on zoom button to zoom in and out. Use blue color scroll bars to scroll image.

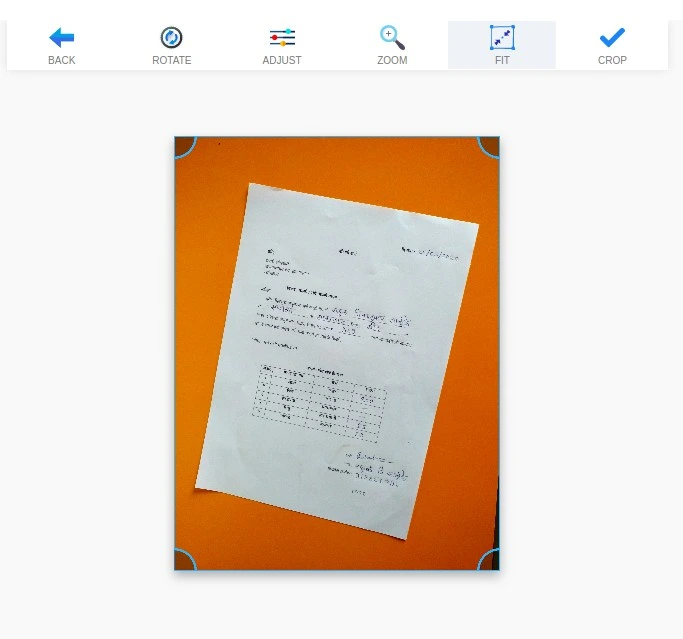
If photo contains only document page and if you do not want to crop document photo click on fit button. To unfit click it again.

After all adjustment click on crop button.
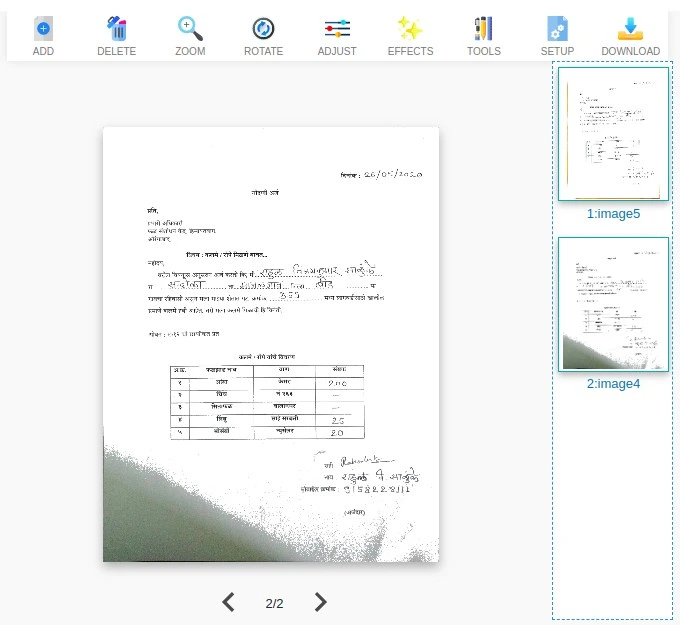
After cropping, Document photo is scanned and more options are provided to scan multiple document photos and rearrange pages, highlight text, page setup etc.

To add more pages in document for scanning press Add button.

To delete page from document click on delete, It will delete current selected page.

Zoom is useful to see document clearly when using highlighter, eraser, pen tools.

To change scan effect click on effect button and selec effect. Effects are applied to only selected page. Super scan effect is default and applied to all documents.


To highlight and remove text from scanned document, click on tools menu.


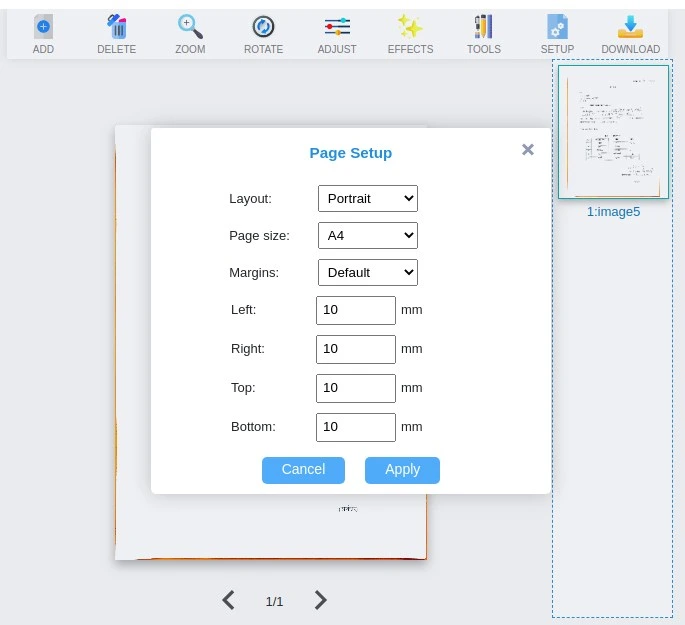
click on page setup button to setup the output pdf page size, layout and margins.
To change page sequence just drag the sidebar preview images.

Click on download button to download scanned document. Three download options are present. JPG, PNG and PDF. JPG and PNG will download current selected scanned page in image format. Pdf download will download all scanned document pages and applies
